Managing Tags in Folderit
Tags provide a flexible way to classify, find, and share files, folders, and external links in Folderit. Administrators can define tags centrally, organize them into hierarchies, and control access to tagged resources.
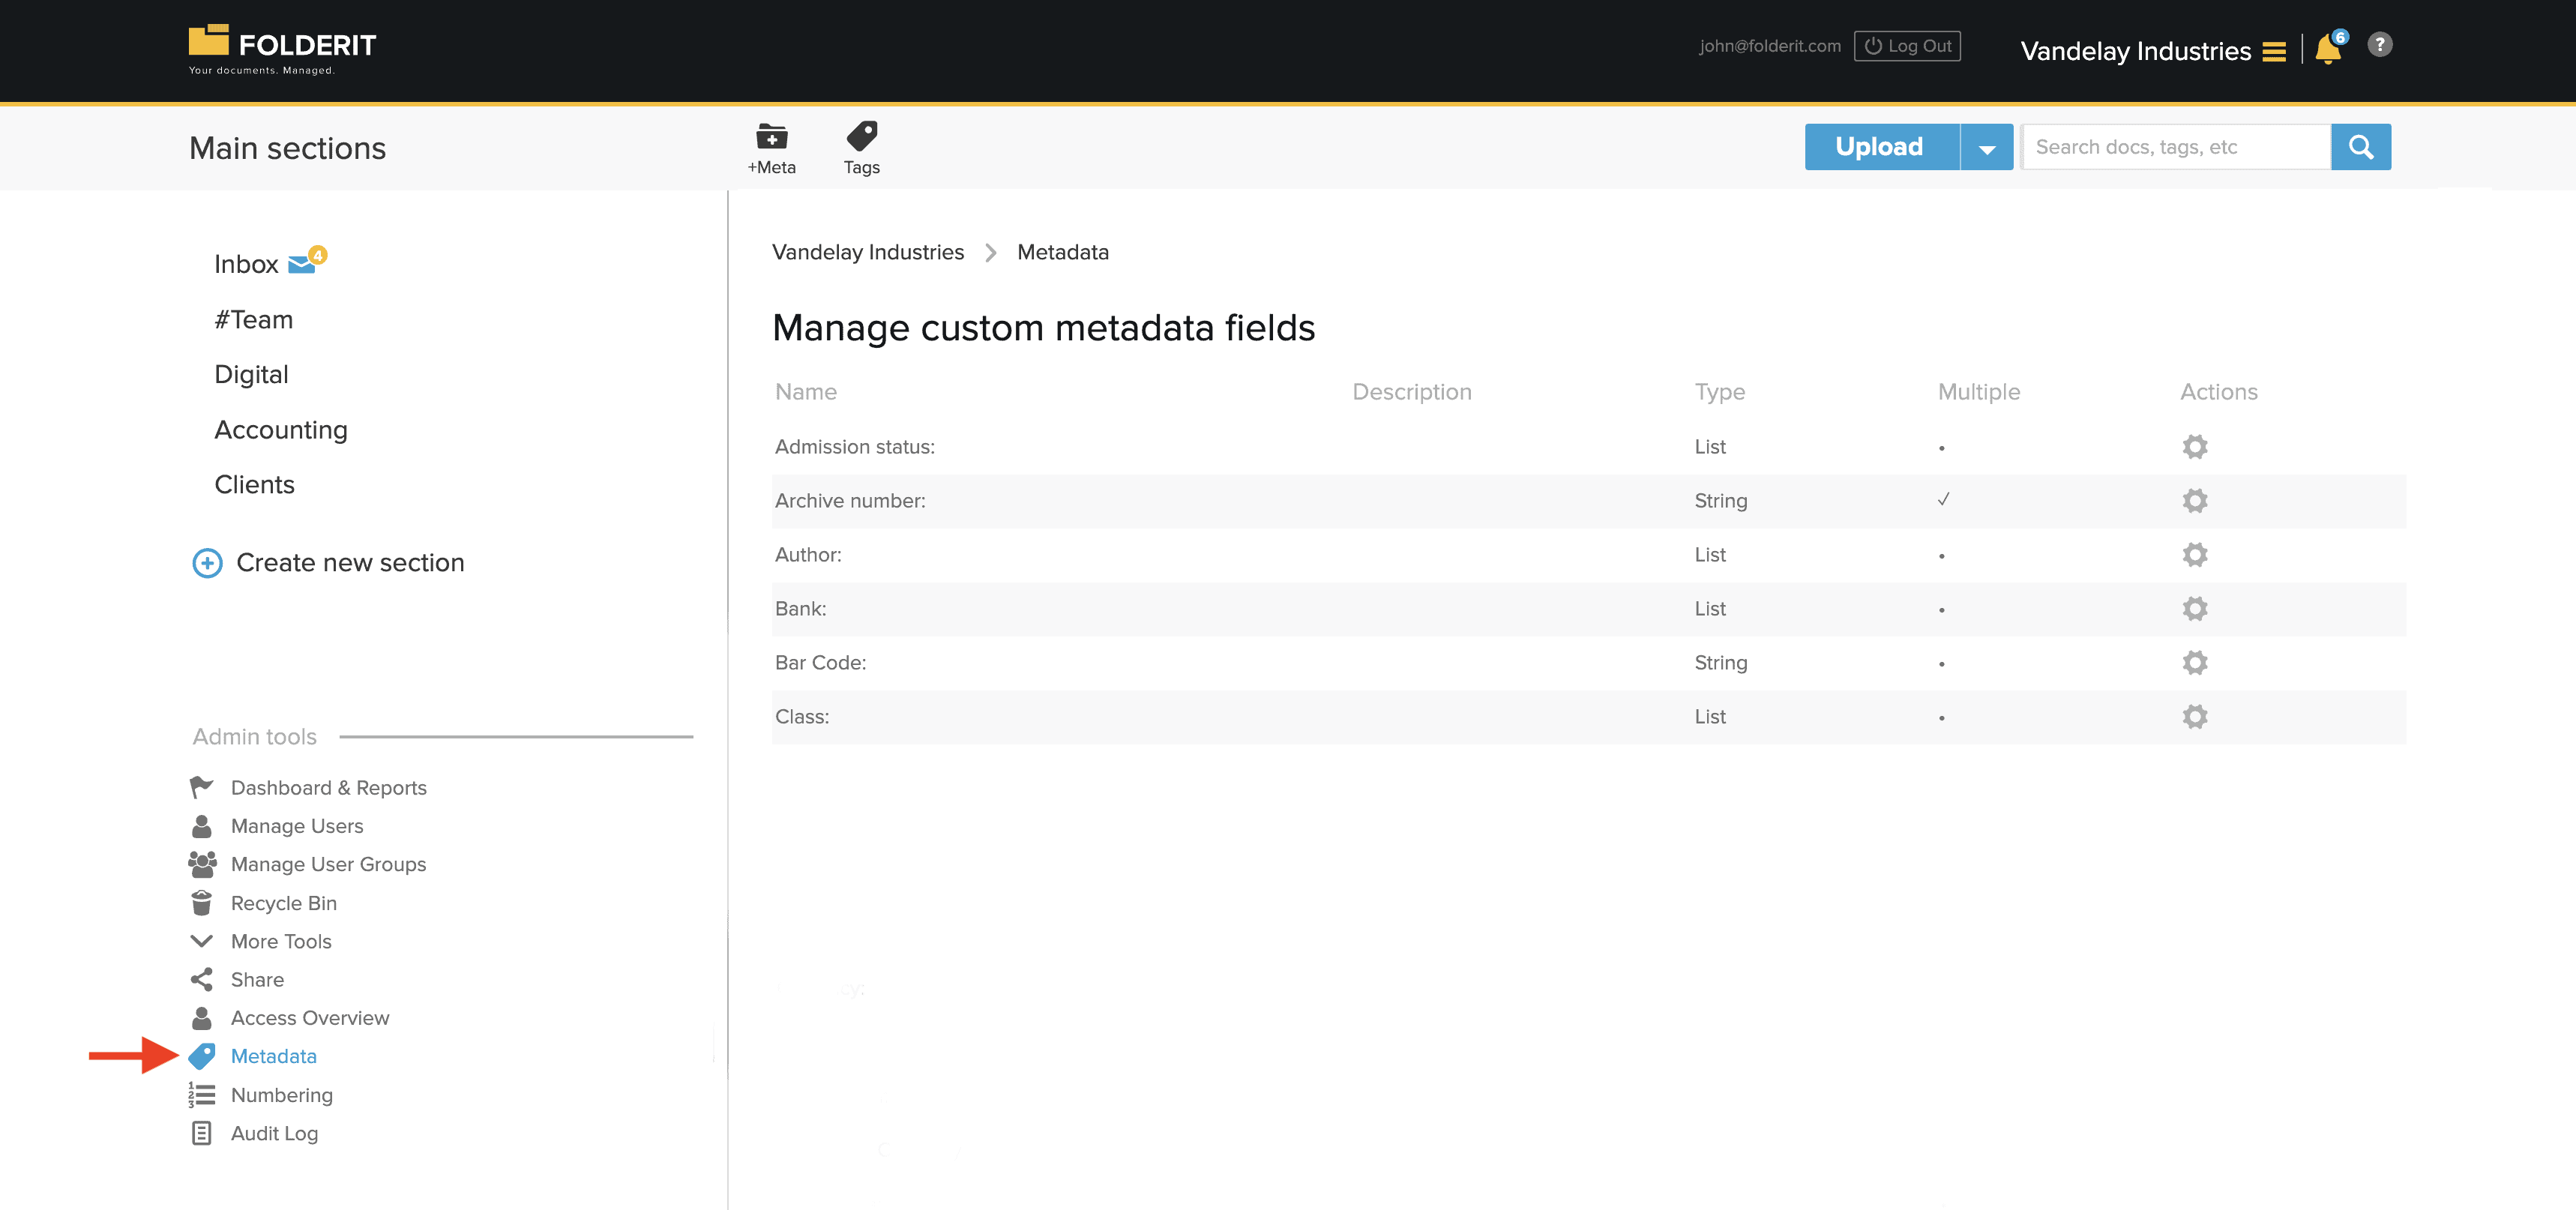
Users with the appropriate permissions can add existing tags to resources, while account administrators can create, rename, delete, and organize tags under Admin Tools → Metadata → Tags.
Open tag management
- Sign in as an account administrator.
- Go to Admin Tools → Metadata.
- Click Tags in the toolbar to view all centrally defined tags.
Create a tag
- Open the Tags view.
- Click + Tag in the toolbar.
- Enter the tag name.
- Save the new tag.
Once created, the tag can be added to files, folders, and external links by users who have permission to modify those resources.
Add tags to files, folders, and links
- Open the file, folder, or external link that you want to classify.
- Click Modify in the toolbar.
- Find the Tags field.
- Select or enter the required tags.
- Click Save.
Tags can be used as search criteria, displayed in folder views, and used to group related resources across different folders.
Learn more about using metadata in Folderit and searching with metadata and tags.
Create hierarchical tags and sub-tags
Tags can be organized into a hierarchy by adding sub-tags under a parent tag.
For example, you could create a parent tag called Project X and add sub-tags such as:
- Invoices;
- Contracts;
- Reports.
- Open Admin Tools → Metadata → Tags.
- Select the tag that should become the parent.
- Click + Sub-tag in the toolbar.
- Enter the sub-tag name and save it.
Sub-tags make it easier to classify related resources while keeping a clear overall structure.
Rename or delete a tag
Administrators can manage existing tags from the Tags view.
Rename a tag
Select the tag and use the available edit action to change its name. The updated name is shown everywhere the tag is already used.
Delete a tag
Select the tag and choose the delete action.
Important: deleting a centrally defined tag removes it from the resources where it has been applied. Confirm that it is no longer needed before deleting it.
Share resources through tags
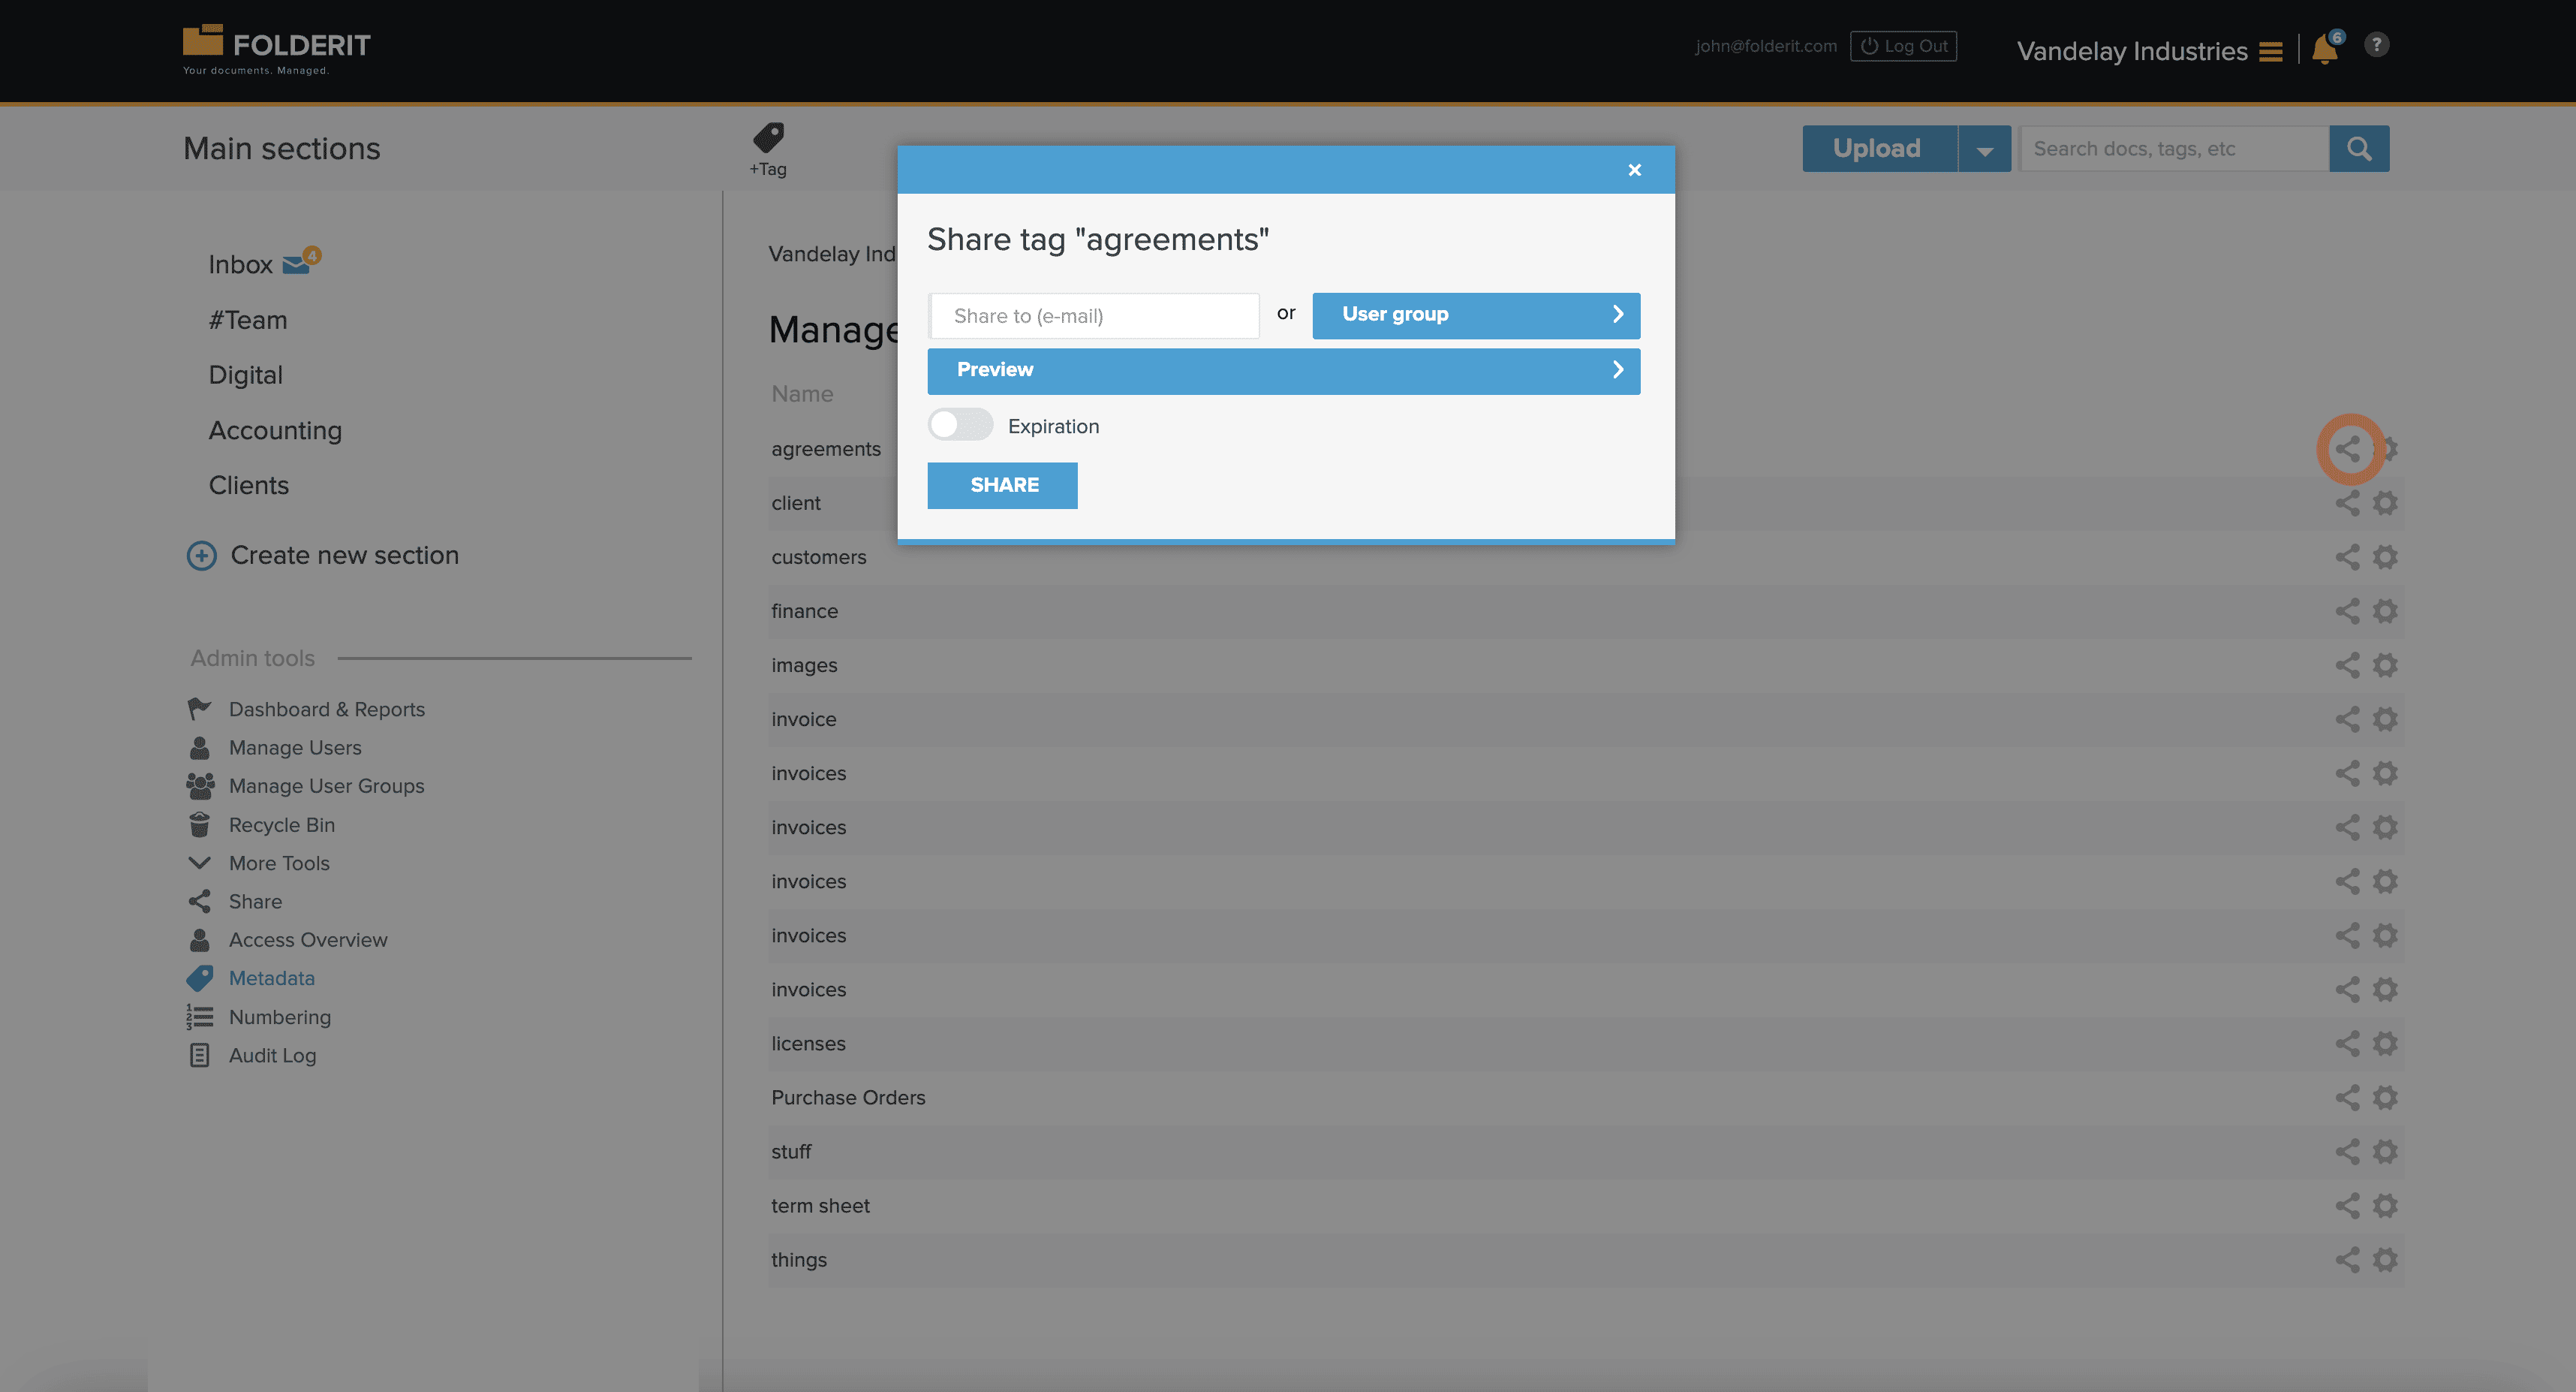
A tag can also be used as the basis for sharing access. When you share a tag, the recipient gains access to the resources associated with that tag.
If the shared tag has sub-tags, resources associated with those sub-tags are included as well.
For example, sharing the parent tag Project X also shares resources tagged with its sub-tags Invoices, Contracts, and Reports.
- Open Admin Tools → Metadata → Tags.
- Locate the tag that you want to share.
- Click the sharing icon beside the tag.
- Select the user or group that should receive access.
- Choose the appropriate permission level.
- Confirm the sharing settings.
How tag-based access works
- Access is granted to resources associated with the shared tag.
- Resources associated with the tag’s sub-tags are included.
- The selected permission level determines what the recipient can do with the shared resources.
- Existing direct permissions and other sharing rules may also apply.
For more information about permission levels and access management, see Sharing Files, Folders, Sections, or Accounts and Differences in Access Permissions.
Recommended tag practices
- Use short, consistent tag names.
- Avoid creating duplicate tags with slightly different spelling.
- Use parent tags for broad categories and sub-tags for more specific classifications.
- Review sharing permissions before sharing a parent tag, because its sub-tags are included.
- Delete obsolete tags only after confirming that they are no longer needed on existing resources.