How can we help?
Managing the Main Sections
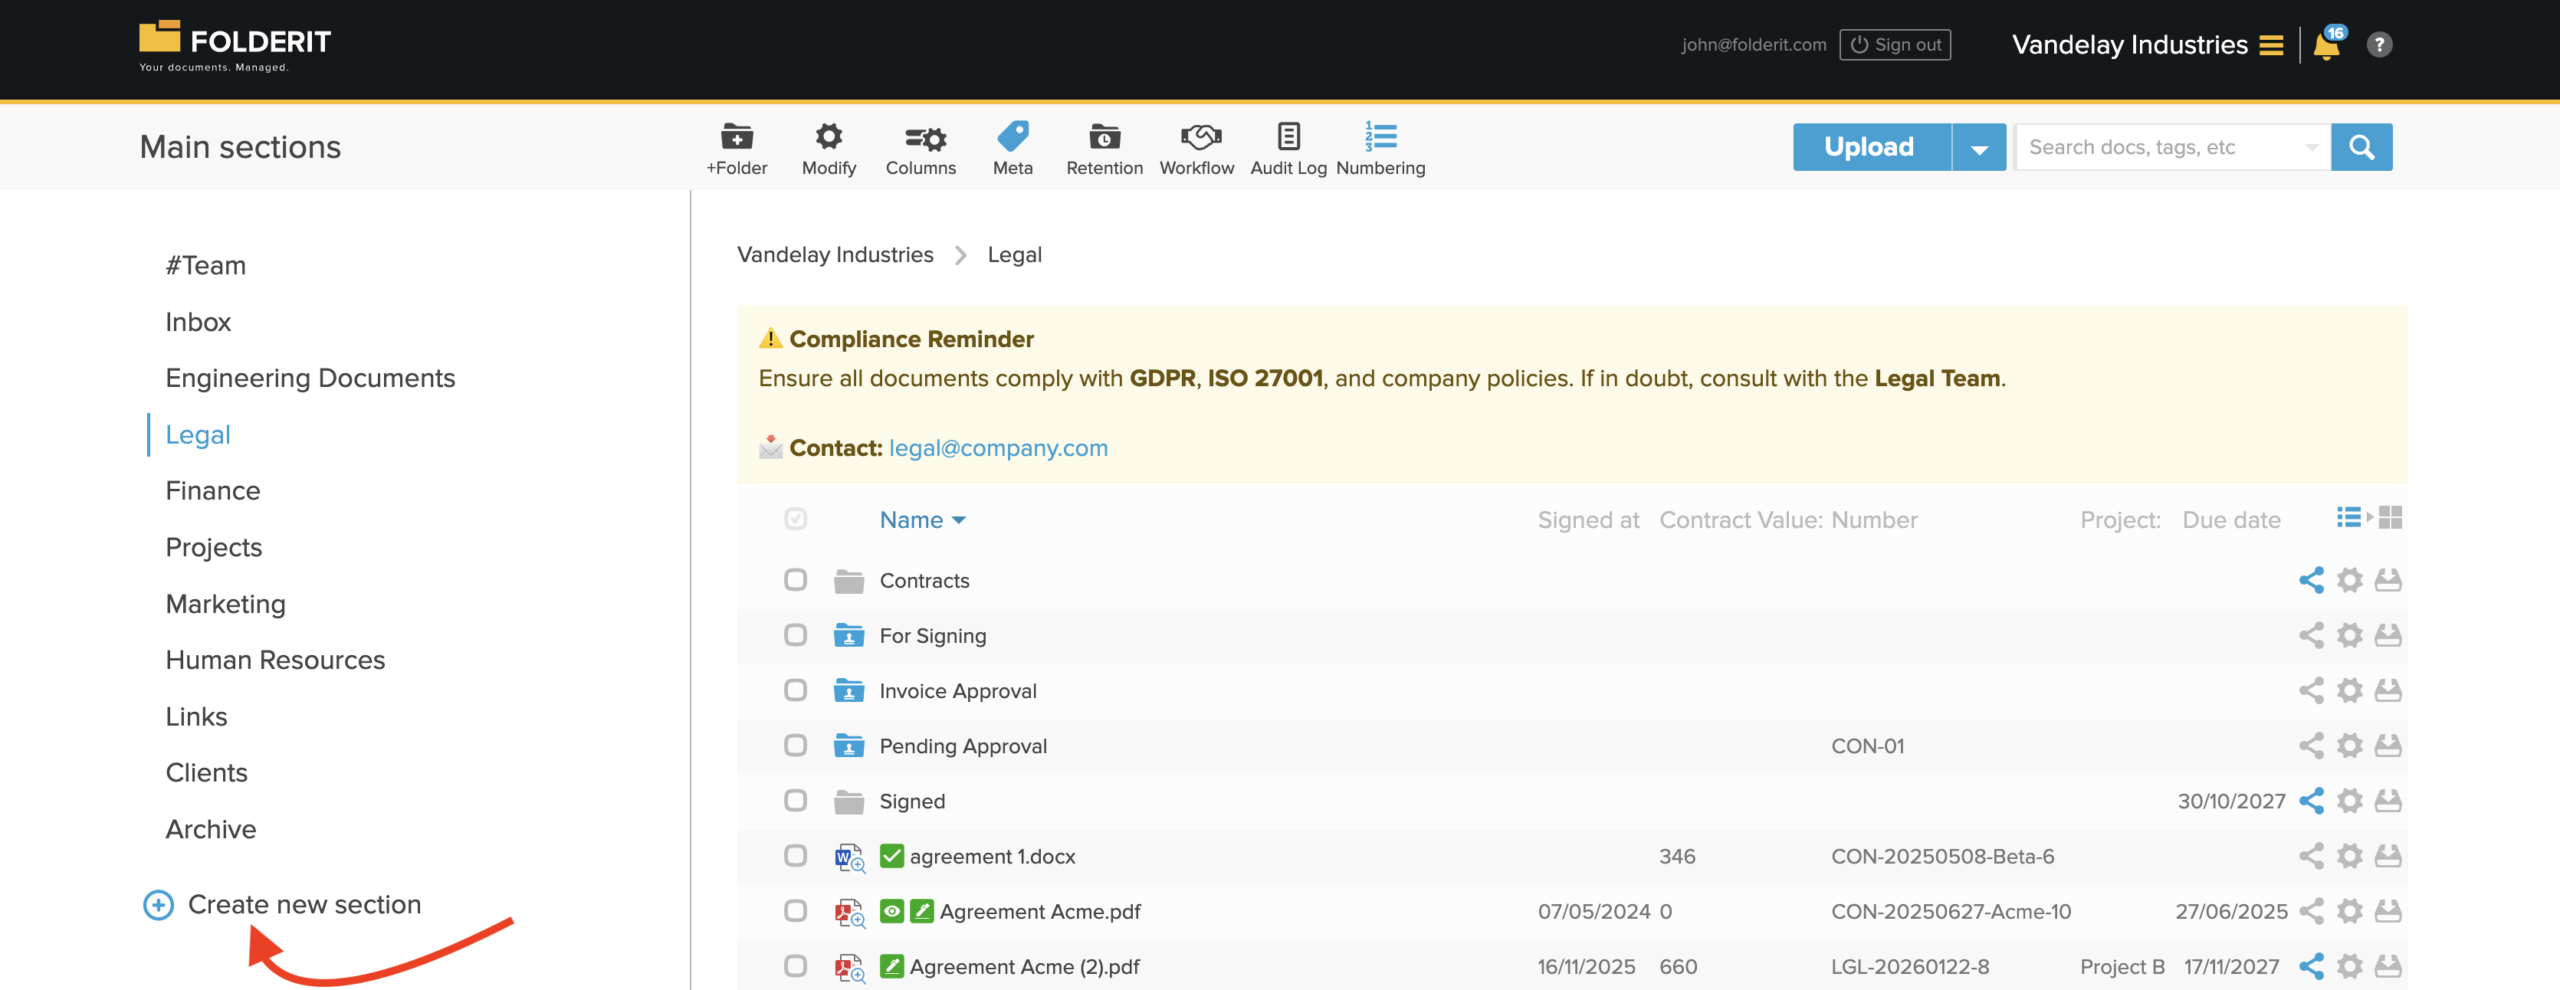
Main Sections are the top-level folders shown on the left side of Folderit. They remain visible while you browse folders and files, making them the primary way to organize the highest level of your document structure.
New accounts may include suggested Main Sections such as Inbox, #Team, Accounting, and Human Resources. These are only examples of how you might structure your system.
- Main Sections can be renamed.
- They can be reordered.
- Most Main Sections can be deleted.
- You can create new Main Sections whenever needed.
Managing a Main Section
Hover over a Main Section name to reveal its menu icon. Open this menu to manage the section and access the available actions.
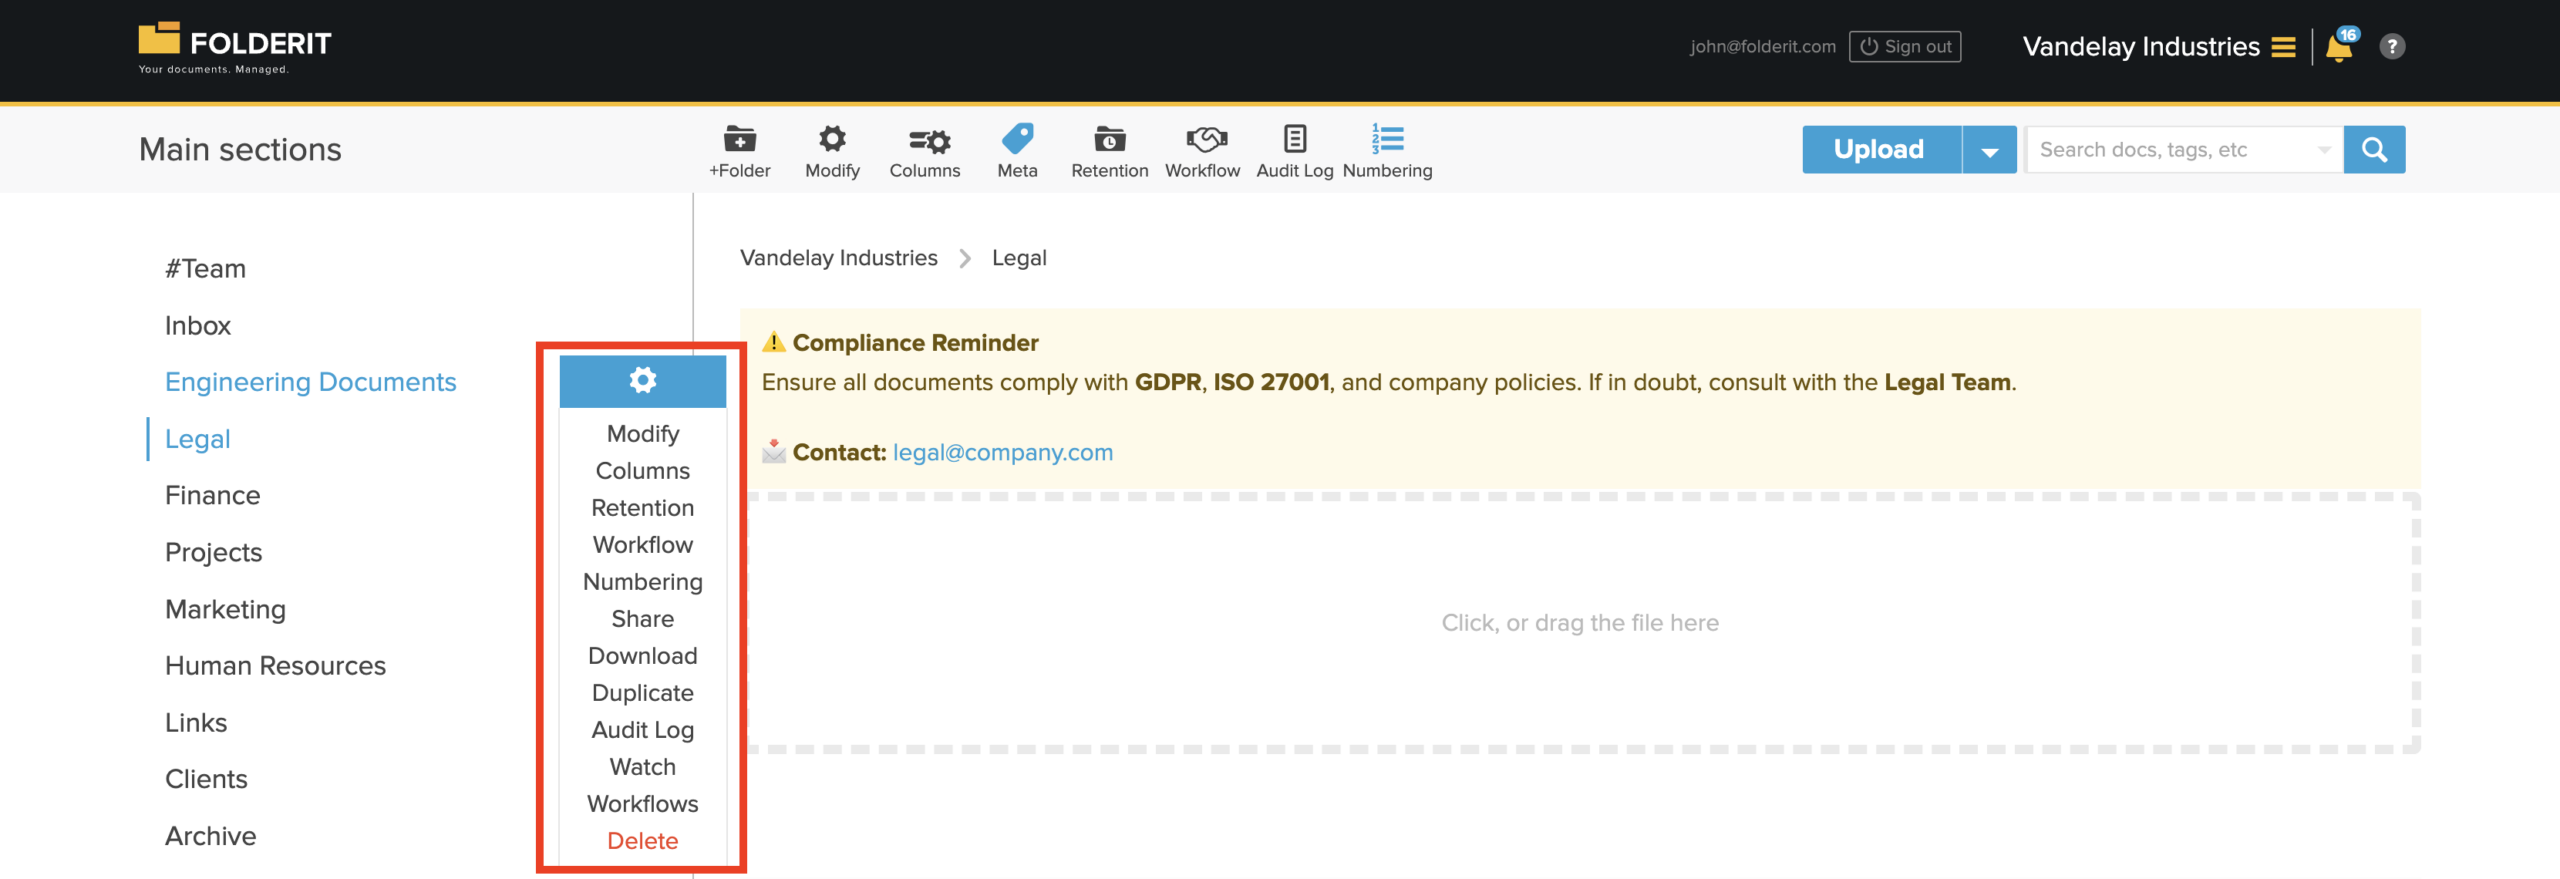
- Modify — change the section name and metadata, and select the OCR language used for its contents.
- Columns — choose which columns are shown in the list view.
- Retention — configure the section’s retention settings.
- Approval — configure an automated approval workflow.
- Numbering — configure document numbering automation.
- Share — share the entire section, including its files and folders, with a user, group, or public-link recipient. You can control whether recipients may preview, download, or modify its contents. Learn more about sharing.
- Download — create a structured ZIP archive containing all files and folders inside the section.
- Move
- Audit Log — review activity within the section, including uploads, deletions, previews, downloads, and sharing events. Learn more about audit logs.
- Delete — move the section and all its contents to the Recycle Bin. The Recycle Bin is available to account administrators. Learn more about the Recycle Bin.
Reordering Main Sections
- Hover over the Main Sections heading until the settings icon appears.
- Click the settings icon to activate reordering mode.
- Drag the Main Sections into the preferred order.
- Click the settings icon again to save the new order.
Creating a Main Section
To add another top-level folder, click + Create new section, enter its name, and save it.