Metadata
Folderit DMS allows you to use metadata with different data types, create templates of custom metadata fields in folders, and add metadata to files, folders, and external links stored in the system. Metadata fields and usable tags can be defined by users who have Manage Metadata permission on Account level. Metadata can be seen in the file’s detail view, can be displayed in the folder list view, and can be used as search parameters.
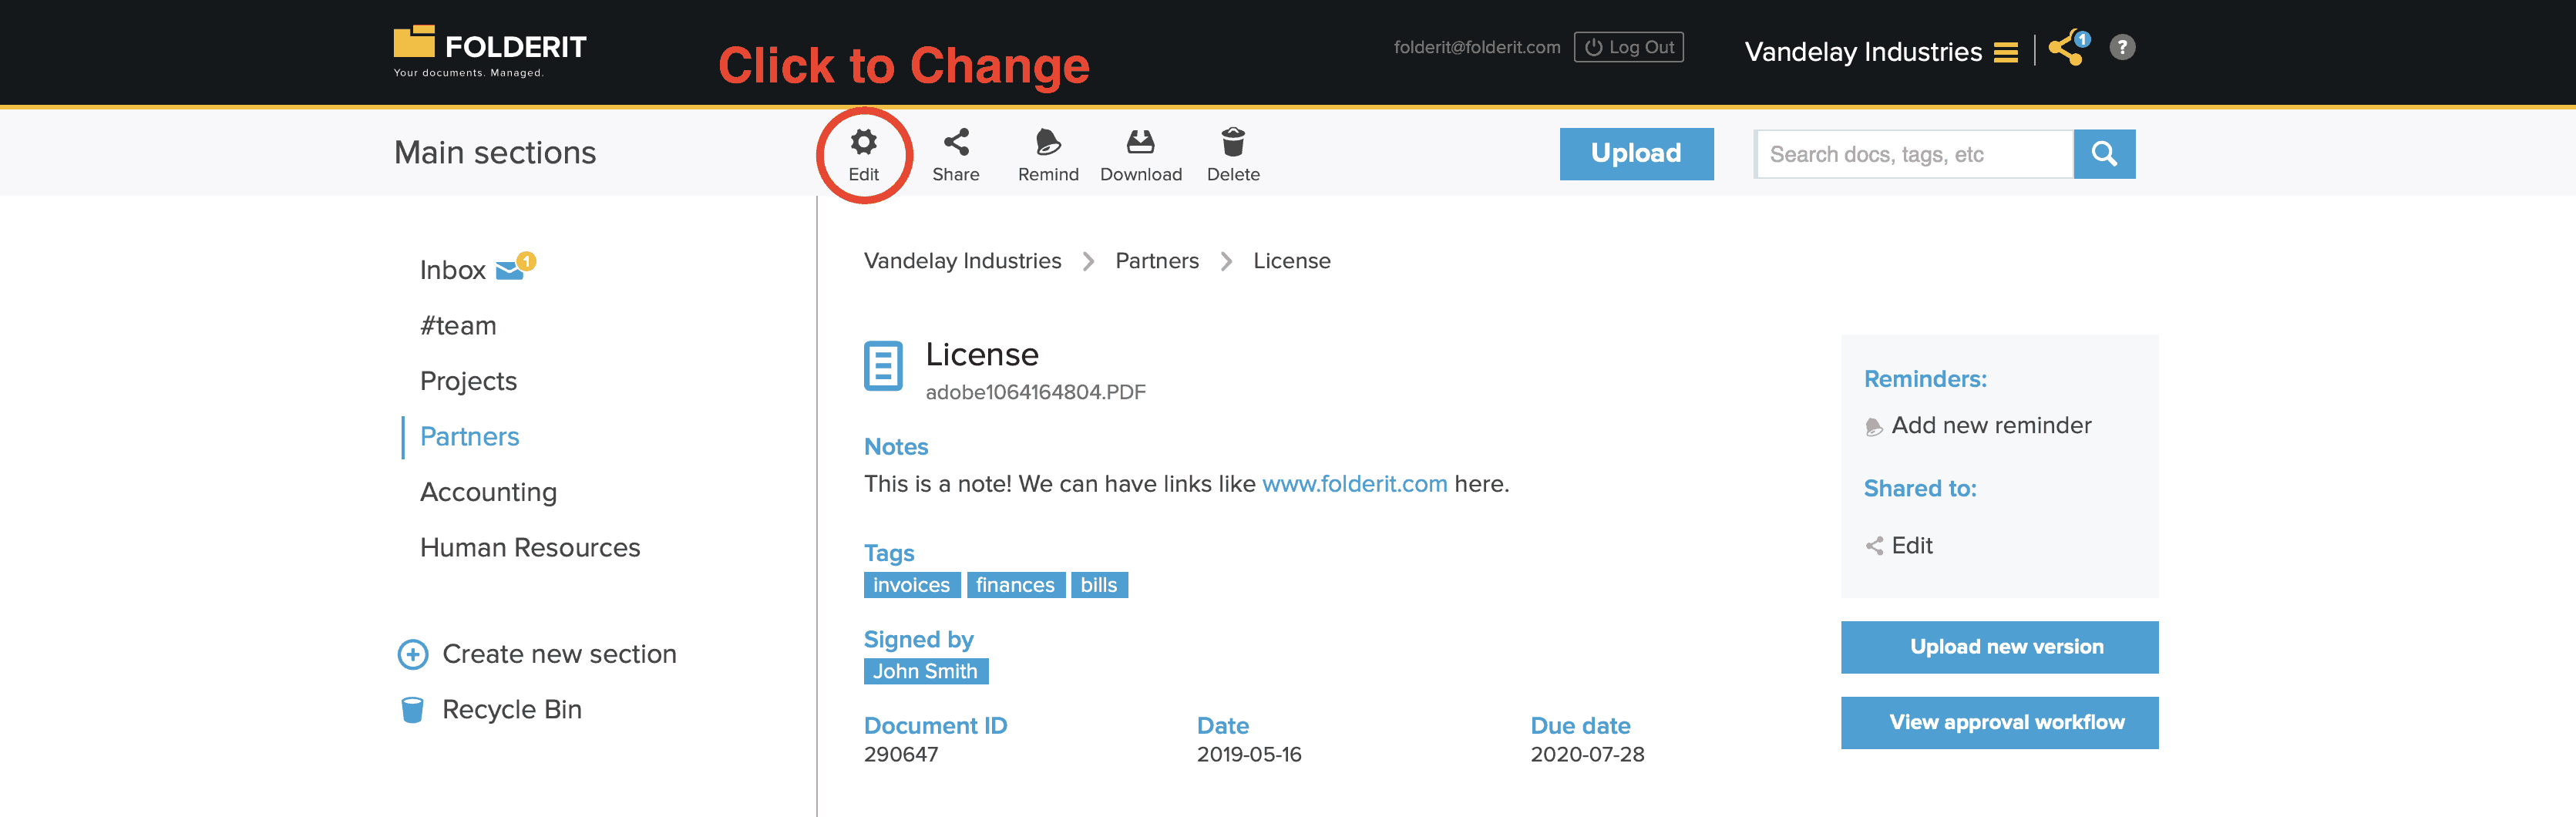
To add or change metadata, click on a file or folder and choose MODIFY from the toolbar.
Templating Custom Metadata of Folder Level
In addition to the default metadata fields, you can create your own. And you can apply your own metadata fields as a template to any folders. So that every time a file, folder or link is added to a folder, the pre-defined metadata fields are added to the resources automatically, awaiting to be filled in.
To start configuring folder’s (and optionally its sub-folders’) metadata template go into the folder and choose ‘Meta’ from the toolbar.

To start adding metadata fields, click on ‘+‘ right under ‘Name’. A dropdown menu opens which will include all your metadata fields’ names already in use. And at the end of the list another ‘+’ to add a new one. If you currently have no custom metadata fields created, you can only see the ‘+’. Clicking it opens a modal with options.
Input your field’s name, description (optional) and type of the metadata. There are many to choose from — String, Checkbox (boolean), Date, Datetime, Decimal, E-mail, Integer, List, Long text, Time, URL, User, Entity. If you chose a list, make sure to add list options too.
Check the ‘Recursive‘ checkbox to apply the template to sub-folders as well.
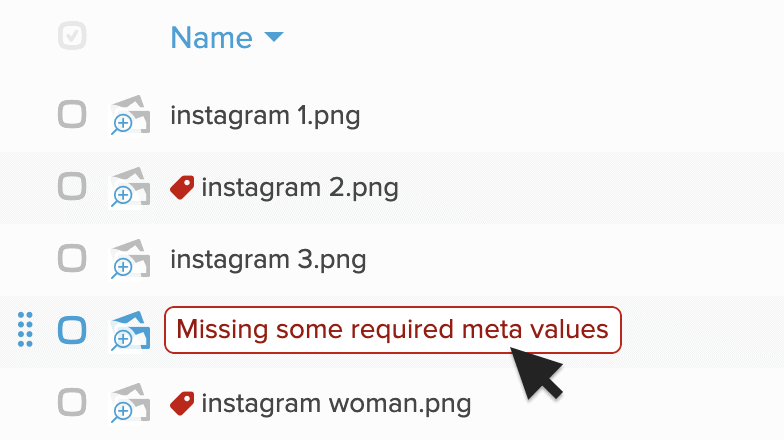
Check the ‘Required‘ checkbox to make filling in this custom metadata field obligatory when Modifying the file’s metadata. Documents that do not have all required fields filled in will be marked in the list or thumbnail view accordingly. Clicking on the message will take the user straight to ‘Modify’ view to fill in the missing data.
Click the blue ‘+‘ button again to add more metadata fields for the folder’s content. You can choose if the specific metadata field applies to all sub-folders as well and if it is required, one-by-one.
From ‘INCLUDE’ column you can choose if the metadata template affects files, folders, links — some or all of them.
Managing and Using Tags
At ADMIN TOOLS > METADATA, the administrators have the ability to define Tags that can be subsequently added to any file, folder, or link in the system by users with Editor permission. This includes the ability to delete existing tags, rename them, and add sub-tags to each. To add a sub-tag, simply click on a tag and select ‘+Sub-tag’ from the toolbar.
Tags offer a flexible way to share resources within the system. When you share a tag, all resources associated with that tag, as well as any of its sub-tags, will be made available to the user or group you shared the tag with. This means if you share a tag called ‘Project X,’ everything tagged with ‘Project X’ or any of its sub-tags will be accessible to the designated user or group.
Here’s a video overview of how this custom metadata templating on folder level works:
Default Metadata Fields
There are 7 default metadata fields already in place whenever you upload a file to Folderit. You can see the file’s metadata when clicking on it. The data on the fields is thoroughly searchable with as-you-type instant search. The default fields are:
- Title — displays the file name and can be changed. Changing the title this will change the file name. File extension can’t be changed.
- Notes — a field for longer texts that describe or add comments to the document or its content. Adding websites with full address (http://…., https://…) will make the links clickable after saving.
- Tags — keywords that you can add to the file. After each keyword type comma ‘ , ‘ . This will turn the words into a keyword. Keywords can also be defined and managed by Admins who can also share resources based on tags.
- Signed by — if the document has someone’s signature and you want to make it findable with search or simply need to have it shown out at a glance, you can add the signers names to this field. After each name type comma ‘ , ‘ .
- Document ID — the system automatically generates a unique number for each uploaded document. You can use it to refer to files, to associate files or use with your own registries.
- Date — you can pick a date of the document.
- Due Date — you can pick a due date for the document. Based on this data, all documents that are already due or that will be due in the next 30 days will be shown in ADMIN TOOL > DASHBOARD & REPORTS > DUE DOCUMENTS
To fill in those metadata fields click on a file and choose ‘Modify’ from the toolbar.
Here’s a video overview of how to modify a single file’s metadata