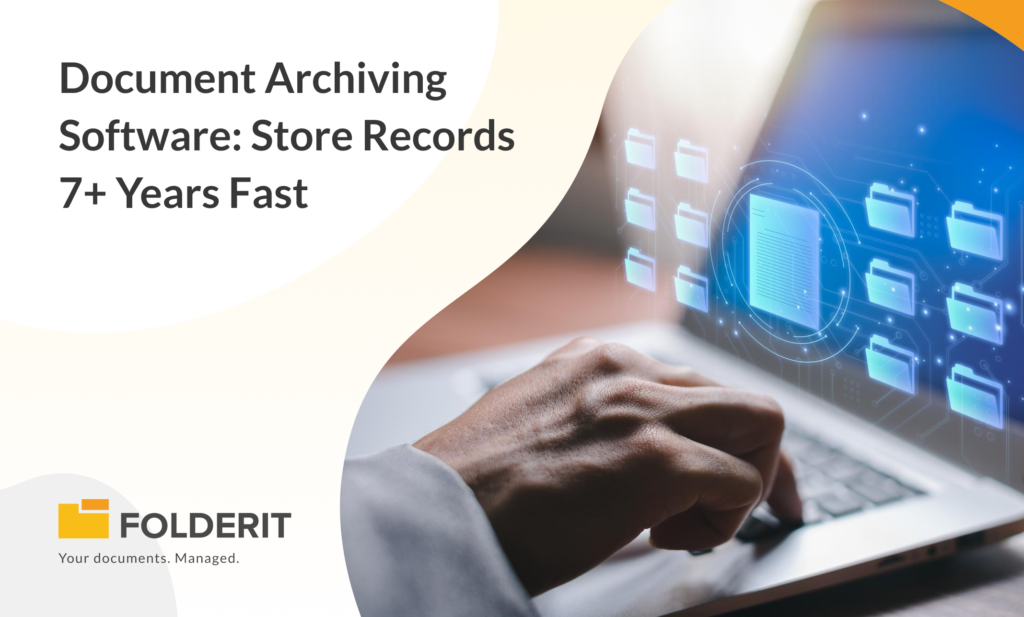
Do you have an enormous backlog of paper documents that need conversion to a digital format? Then this is the article for you.
Teams nowadays require remote access to corporate documents. They must collaborate on documents and share them with outside stakeholders. Physically moving documents in this case is a logistical nightmare that is also time-consuming, especially for large and medium-sized businesses. As such a single store of electronic records has become a need.
Are you ready to transition from paper to digital?
The epidemic altered the way teams functioned. Companies must also modify their systems and processes to accommodate the new normal.
Business document digitization is no longer optional.
If you haven’t already digitized your business data and workflows, now is the moment. The notion of transforming enormous numbers of corporate records into digital format may initially overwhelm you. Yet there’s aid at hand.
We all know that scanning changes paper to a digital image; we’ve all taken a picture of a document with our phones and shared it via email or messaging apps. A multifunctional printer/copier that can scan documents is found in almost every workplace and home. But these devices aren’t up to the task of scanning massive numbers of corporate documents.
Every day, a typical company generates hundreds of tangible records such as sales orders, invoices, receipts, mail correspondence, and customer support records. Day-forward scanning is the process of converting paper documents to digital format as they arrive. DIY scanning, in which your staff handles the scanning process with desktop scanners, is frequently sufficient. But, firms with a backlog of documents to convert require high-volume scanning, often known as backfile conversion. This is not an easy task. It requires sophisticated equipment as well as professionally managed services.
Folderit can be used for bulk document conversion automation. Folderit offers a comprehensive set of services that make document scanning easier for businesses. These are some examples:
- Project preparation
- Preparation of documentation
- Configuring our Scan to SFTP Solution
- Picture quality assurance
- Overall scanning project management
If you want to take it a step further, we offer document management software and services like OCR, file classification, indexing, custom metadata, access control, and so on.
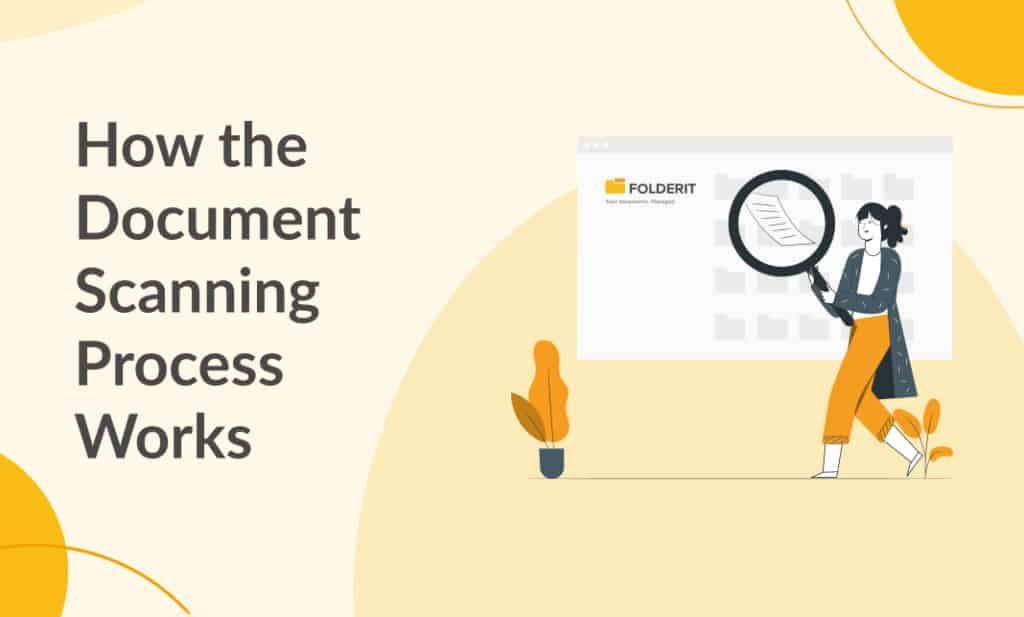
The Document Scanning Procedure with Folderit
Our skilled team methodically controls every area of the project to make the process as easy for you as possible. We use a stringent chain of custody method to ensure that document gathering techniques, records preservation, document packaging, transit, conversion, and storage are all strictly regulated.
Consider the following steps in a typical document scanning project:
Step 1: Determine your objectives.
Our representatives take the time to learn about your company’s objectives and documentation. They collaborate with you to create a service model that maps your demands, resulting in a precise plan.
Step 2: Configuring Scan to SFTP
Folderit provides a scan-to-SFTP feature that enables users to digitize physical documents and upload them to their Folderit account via SFTP. To configure this feature with a scanner, follow these steps:
- Ensure that your scanner is connected to the same network as the computer running Folderit.
- Open the scanner software and locate the settings for the scan to SFTP feature.
- Enter the SFTP credentials for your Folderit account, including the server address, port number, username, and password.
- Configure the scanner to save scanned documents in a specific folder on your computer, such as a folder named “Scans.”
- Set up a synchronization rule in Folderit that monitors the “Scans” folder and automatically uploads any new documents to your designated Folderit location.
- Test the setup by scanning a document and verifying that it appears in your designated Folderit location.
With these steps, your scanner is now configured to digitize documents and upload them to your Folderit account via SFTP. This feature allows for efficient digitization and organization of physical documents, making them easily accessible and searchable in Folderit.
Step 3: Scanning Documents
Before the scanning procedure actually begins; it is recommended that you use more contemporary and dependable scanners. Production scanners with speeds of up to 120 pages per minute can be used for high-volume applications. This allows you to finish tasks quickly without disrupting your operations. Furthermore, some printers employ powerful image-cleaning techniques to ensure that your original papers are of the highest possible quality.
Step 4: Image production
After scanning, the images are exported in nearly any format you need for integration into your existing business systems: PDF, TIFF, and so on. This provides your team with immediate access to data from scanned papers. The clock is ticking!
Step 5: What you end up with
Shifting from paper to digital creates a highly productive, environmentally friendly, and efficient workplace that is designed to save you money and reduce risk at a low cost!
Get rid of all that paper today
You’re well on your way to a paperless office now that your paper documents are in compact, searchable digital versions! Using, updating, saving, and retrieving actual documents will save you time and money if you use our document management software.
Would you like to convert your paper records into a digital repository and archiving system? To get a quote you can reach out to us today!