E-Signing Workflows
Folderit DMS accommodates a variety of electronic signature methods to suit your specific needs, including:
- Folderit eSign – in Tailor plan only, for no extra charge
- DocuSign – in Medium and Tailor plan, requires DocuSign subscription
- eID (XAdES, ASIC-E) – in Medium and Tailor plan, requires government issued electronic ID card that complies with the standards
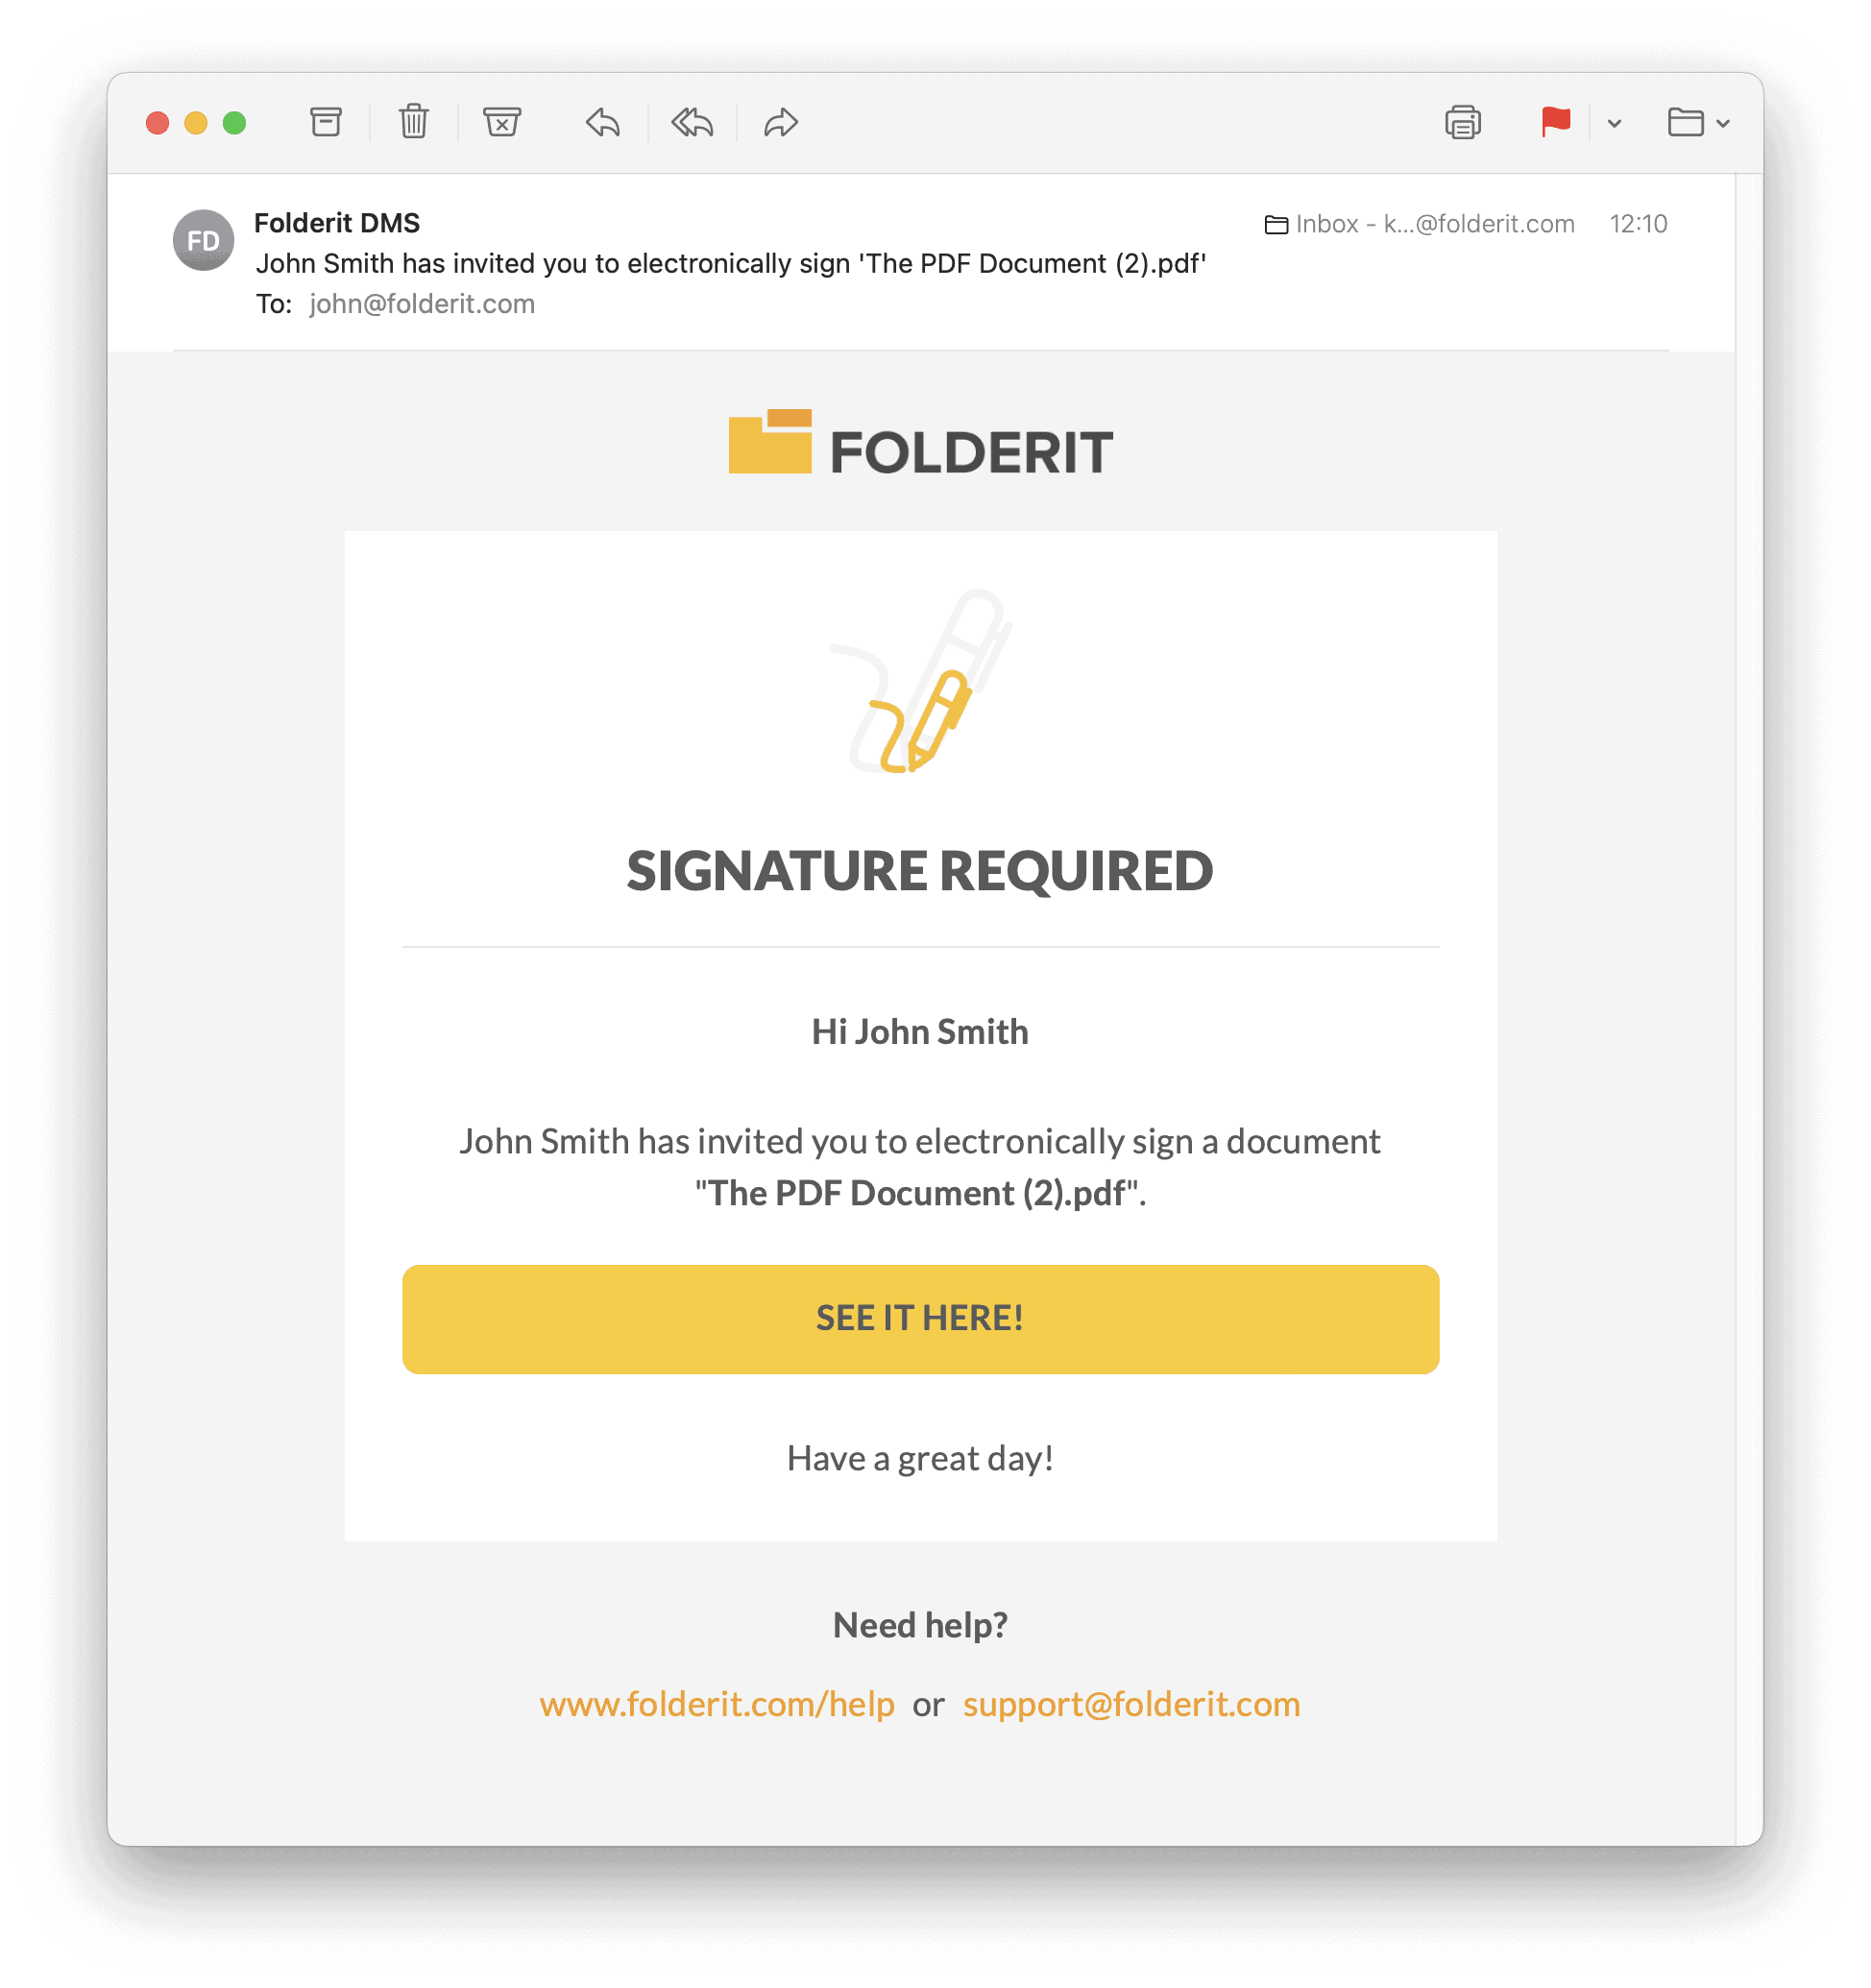
This flexibility ensures that documents stored within Folderit can be seamlessly signed electronically through the method that aligns best with your requirements. You can send documents to be signed by Folderit users and external people by adding their email address to the e-signing flow.
Signing with Folderit eSign
Exclusive to the Tailor plan, this method offers seamless access to unlimited signatures without the need for any external service providers or special hardware. Please note that the “Folderit eSign” button is visible only after the system has generated a preview of your document. Refresh the page a bit later if needed and the eSign button will appear.
The following video explains how to use the native e-signing functionality in Folderit DMS:

Signing with DocuSign
If you have a DocuSign account and subscription and you want to use it for electronic signature workflows in Folderit, you can utilize the built-in DocuSign integration.
Setup
As it is an integration with a third party, you will need a separate DocuSign account with e-signing ‘Envelopes’ available. Each electronic signing workflow (either with one signer or several) will consume one DS Envelope.
To start signing, first you need to connect your Folderit account with you DocuSign account. Make sure you have logged in with your main account (the account paying for the subscription or the first Trial account of your company that invited other users) and go to My Profile > Integrations > DocuSign. The system will also prompt you to do that when you try to start your first e-signing workflow. You can also create folder-level e-sign automations.
Sending a Single Document for Signing

- Click on a file name to get to the detail view. On the right side you will see a blue button called ‘Start DocuSign workflow’. Click it!
If you haven’t connected your account to DS yet, the system will guide you to do that. If your accounts are connected you will see an e-signing modal. - Add emails of the people you need to sign the document one-by-one, clicking on ‘Invite’ button after inserting each email.
- After everyone who need to sign the document have been added, confirm that you understand your DS Envelope will be consumed by this action by checking the box.
- Then click on ‘START ELECTRONIC SIGNING FLOW’. Please wait a little until the services communicate. When the buttons disappear the email invitations have been sent out to signers.
OPTIONAL: You can also toggle on the ‘Move after completed’ function and choose a folder where the document will be put after it has completed the e-signing workflow.
Setting up DocuSign (or Folderit eSign) Workflow as a Folder-level Automation
You can easily automate any chosen folder with pre-defined e-signing workflow. Then if someone drops (or sends) a document into this folder, the workflow would automatically start as per the setup.
To activate automated DocuSign workflow open a folder you want to automate and choose WORKFLOW from the toolbar.
Then make it ACTIVE, choose DocuSign as the METHOD and add everyone’s email (one per line) to the email field. Click the blue Plus sign to add more rows. If you choose SERIAL type, the invitations to sign will be sent in the order of the emails you see in the list, the next person receiving the invitation only after the previous has signed. Optionally toggle on ‘Move after completed workflow’ to pick a folder where the signed document will be relocated after everyone has signed it.

NOTE: The owner of DocuSign account/subscription will be notified via email about each document sent to e-signing flow: which user has viewed and which user has signed. This notification is coming from DocuSign, so it can’t be controlled in Folderit’s notification settings but under your DocuSign account.
eID QES, Qualified Electronic Signature
This requires government issued ID card with the compatible standard. When you click on ‘Start eID Workflows’ in file’s detail view, a new signature container (*.asice) is created in the same folder and a copy of the document is put into it. You can send the container for signing when ready. Signers can use their ID-card (Austria, Belgium, Bulgaria, Croatia, Cyprus, Czech Republic, Denmark, Estonia, France, Germany, Italy, Latvia, Liechtenstein, Lithuania, Luxembourg, Malta, Norway, Poland, Portugal, Romania, Slovakia, Slovenia, Spain, Sweden, The Netherlands) inserted into their computer or use Mobile-ID (Estonia, Latvia) or SmartID (in Estonia, Latvia, Lithuania) where available.
Alternatively you can start by creating an empty signature container by clicking on the arrow button next to UPLOAD in header. You can name the container file and later spick files from the system to add into it, starting the signature workflow when ready.
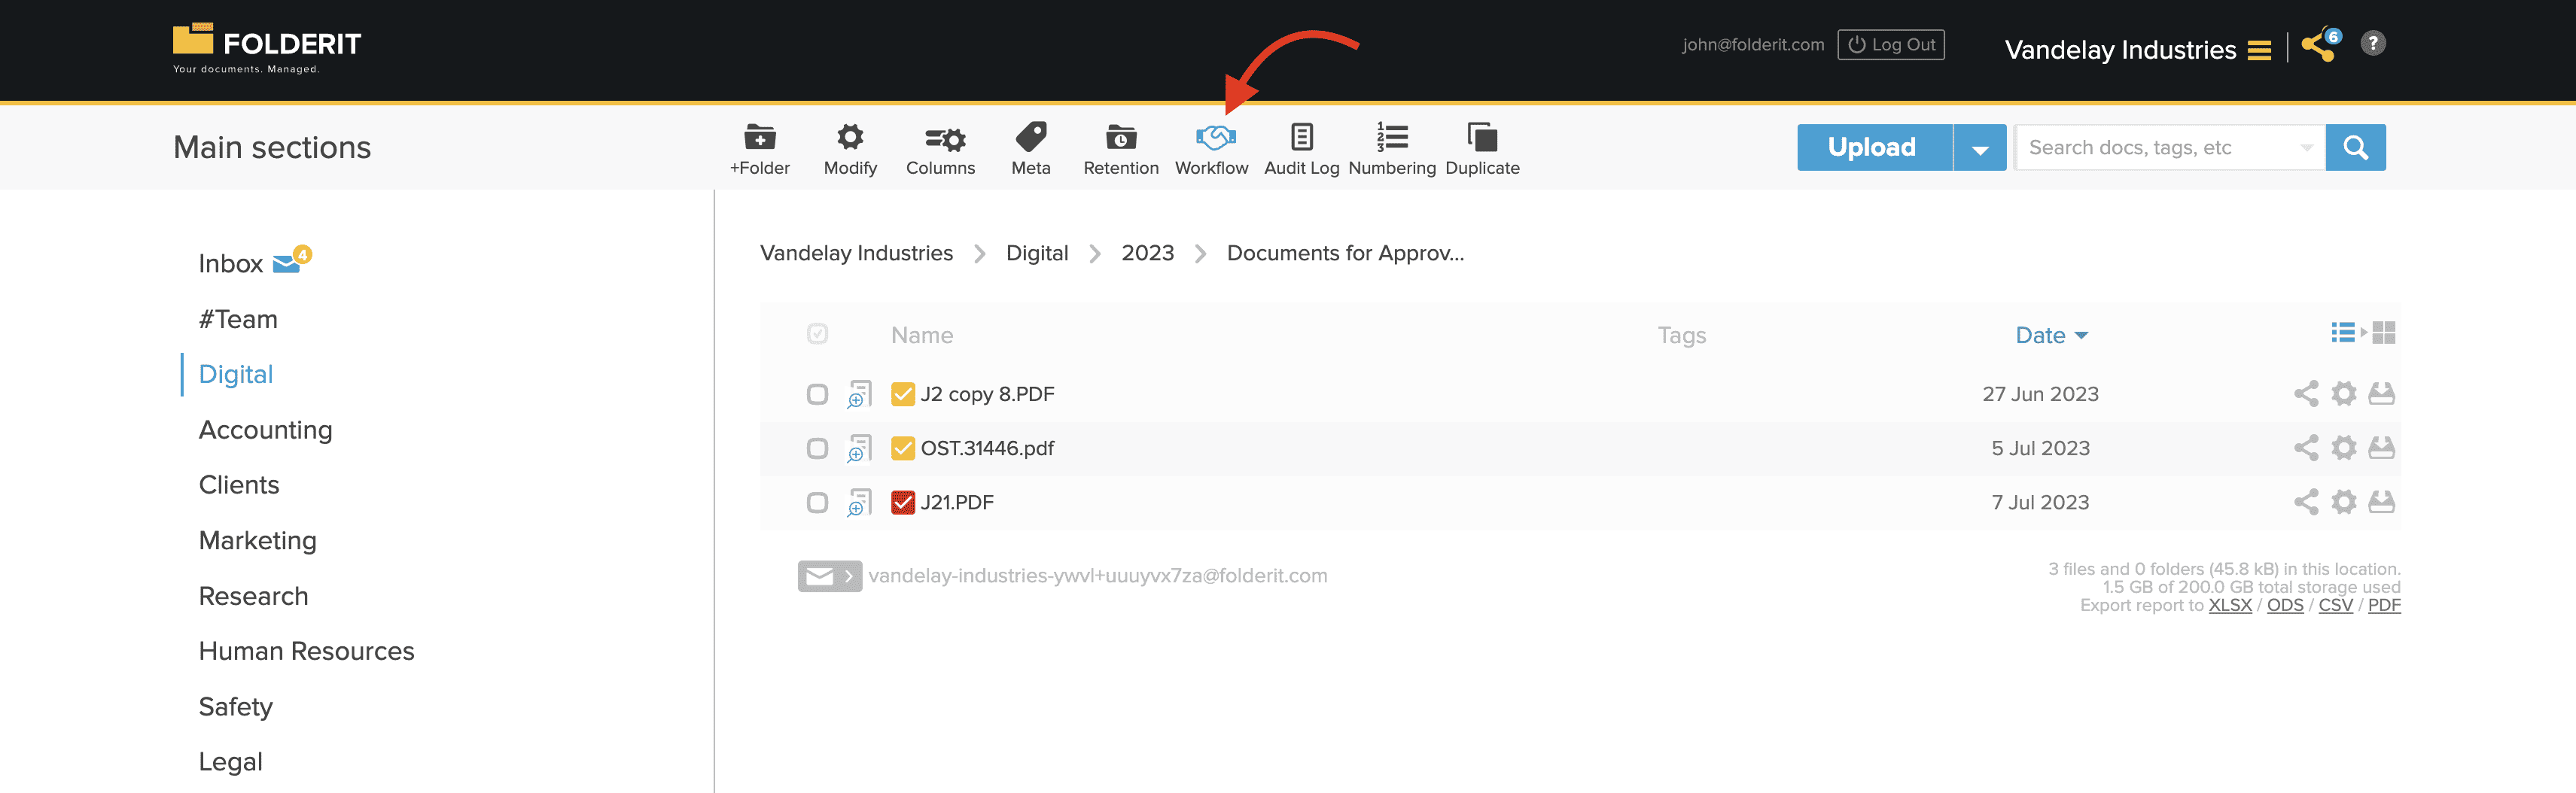
Status Indicators
- Yellow square with pencil means the signing process hasn’t been finished
- Red square with pencil means the document has been rejected.
- Green square with pencil means the document has been signed.