Manage all custom metadata fields
Whenever you create a custom metadata field to add to a document or to apply as a template for all the files in a folder, there’s a central place to overview all those fields. Log in as an account administrator and click on ‘Metadata’ under the Admin Tools section.
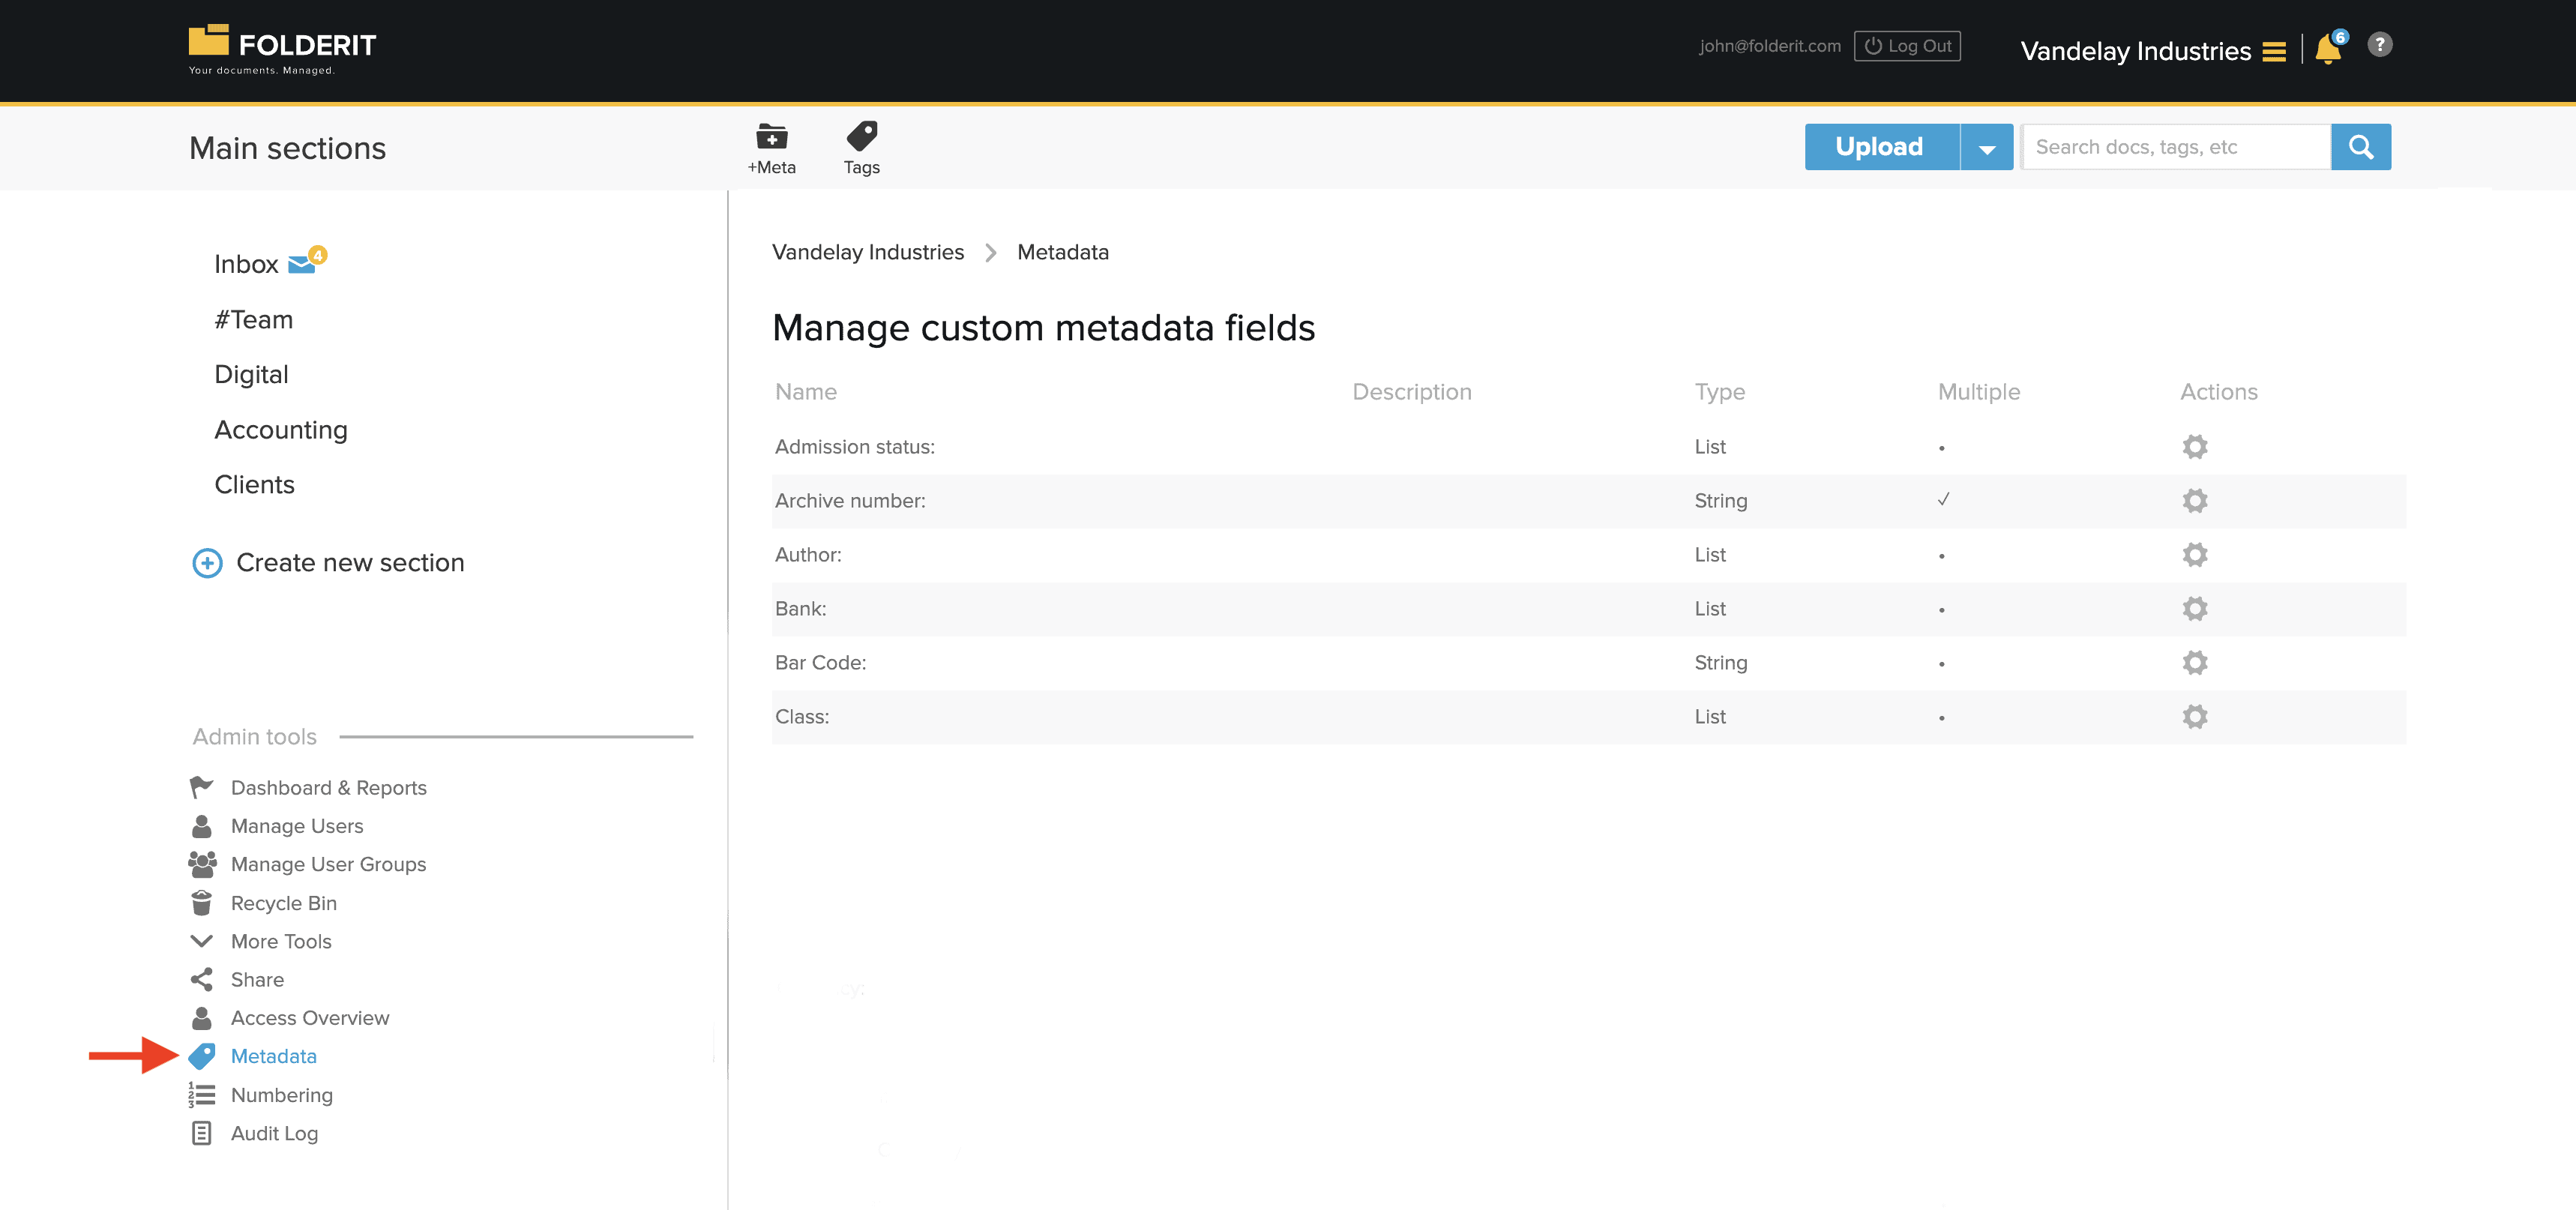
Clicking on the gear icon next to a custom metadata field displays options: Edit and Delete.
Editing allows you to change the name of the metadata field. This will affect the field’s name on every file the field was applied on.
Delete allows you to delete the field. This will remove the field from every file it was displayed on.
Managing Tags
You can also manage all Tags–you can create them and manage what has been created by others. Click on TAGS button on the toolbar to see all defined Tags, click on +TAG to create a new tag.
Hierarchical tags can also be created by adding sub-tags to a main tag.
For instance, let’s say you have a main tag called ‘Project X.’ Under ‘Project X,’ you can create sub-tags such as ‘Invoices,’ ‘Contracts,’ and ‘Reports.’ If you share the ‘Project X’ tag with a team member, they will have access to everything tagged with ‘Project X,’ as well as everything tagged with ‘Invoices,’ ‘Contracts,’ and ‘Reports.’
Add a sub-tag by clicking on any tag in the Metadata > Tags view and choose +Sub-tag from the toolbar.
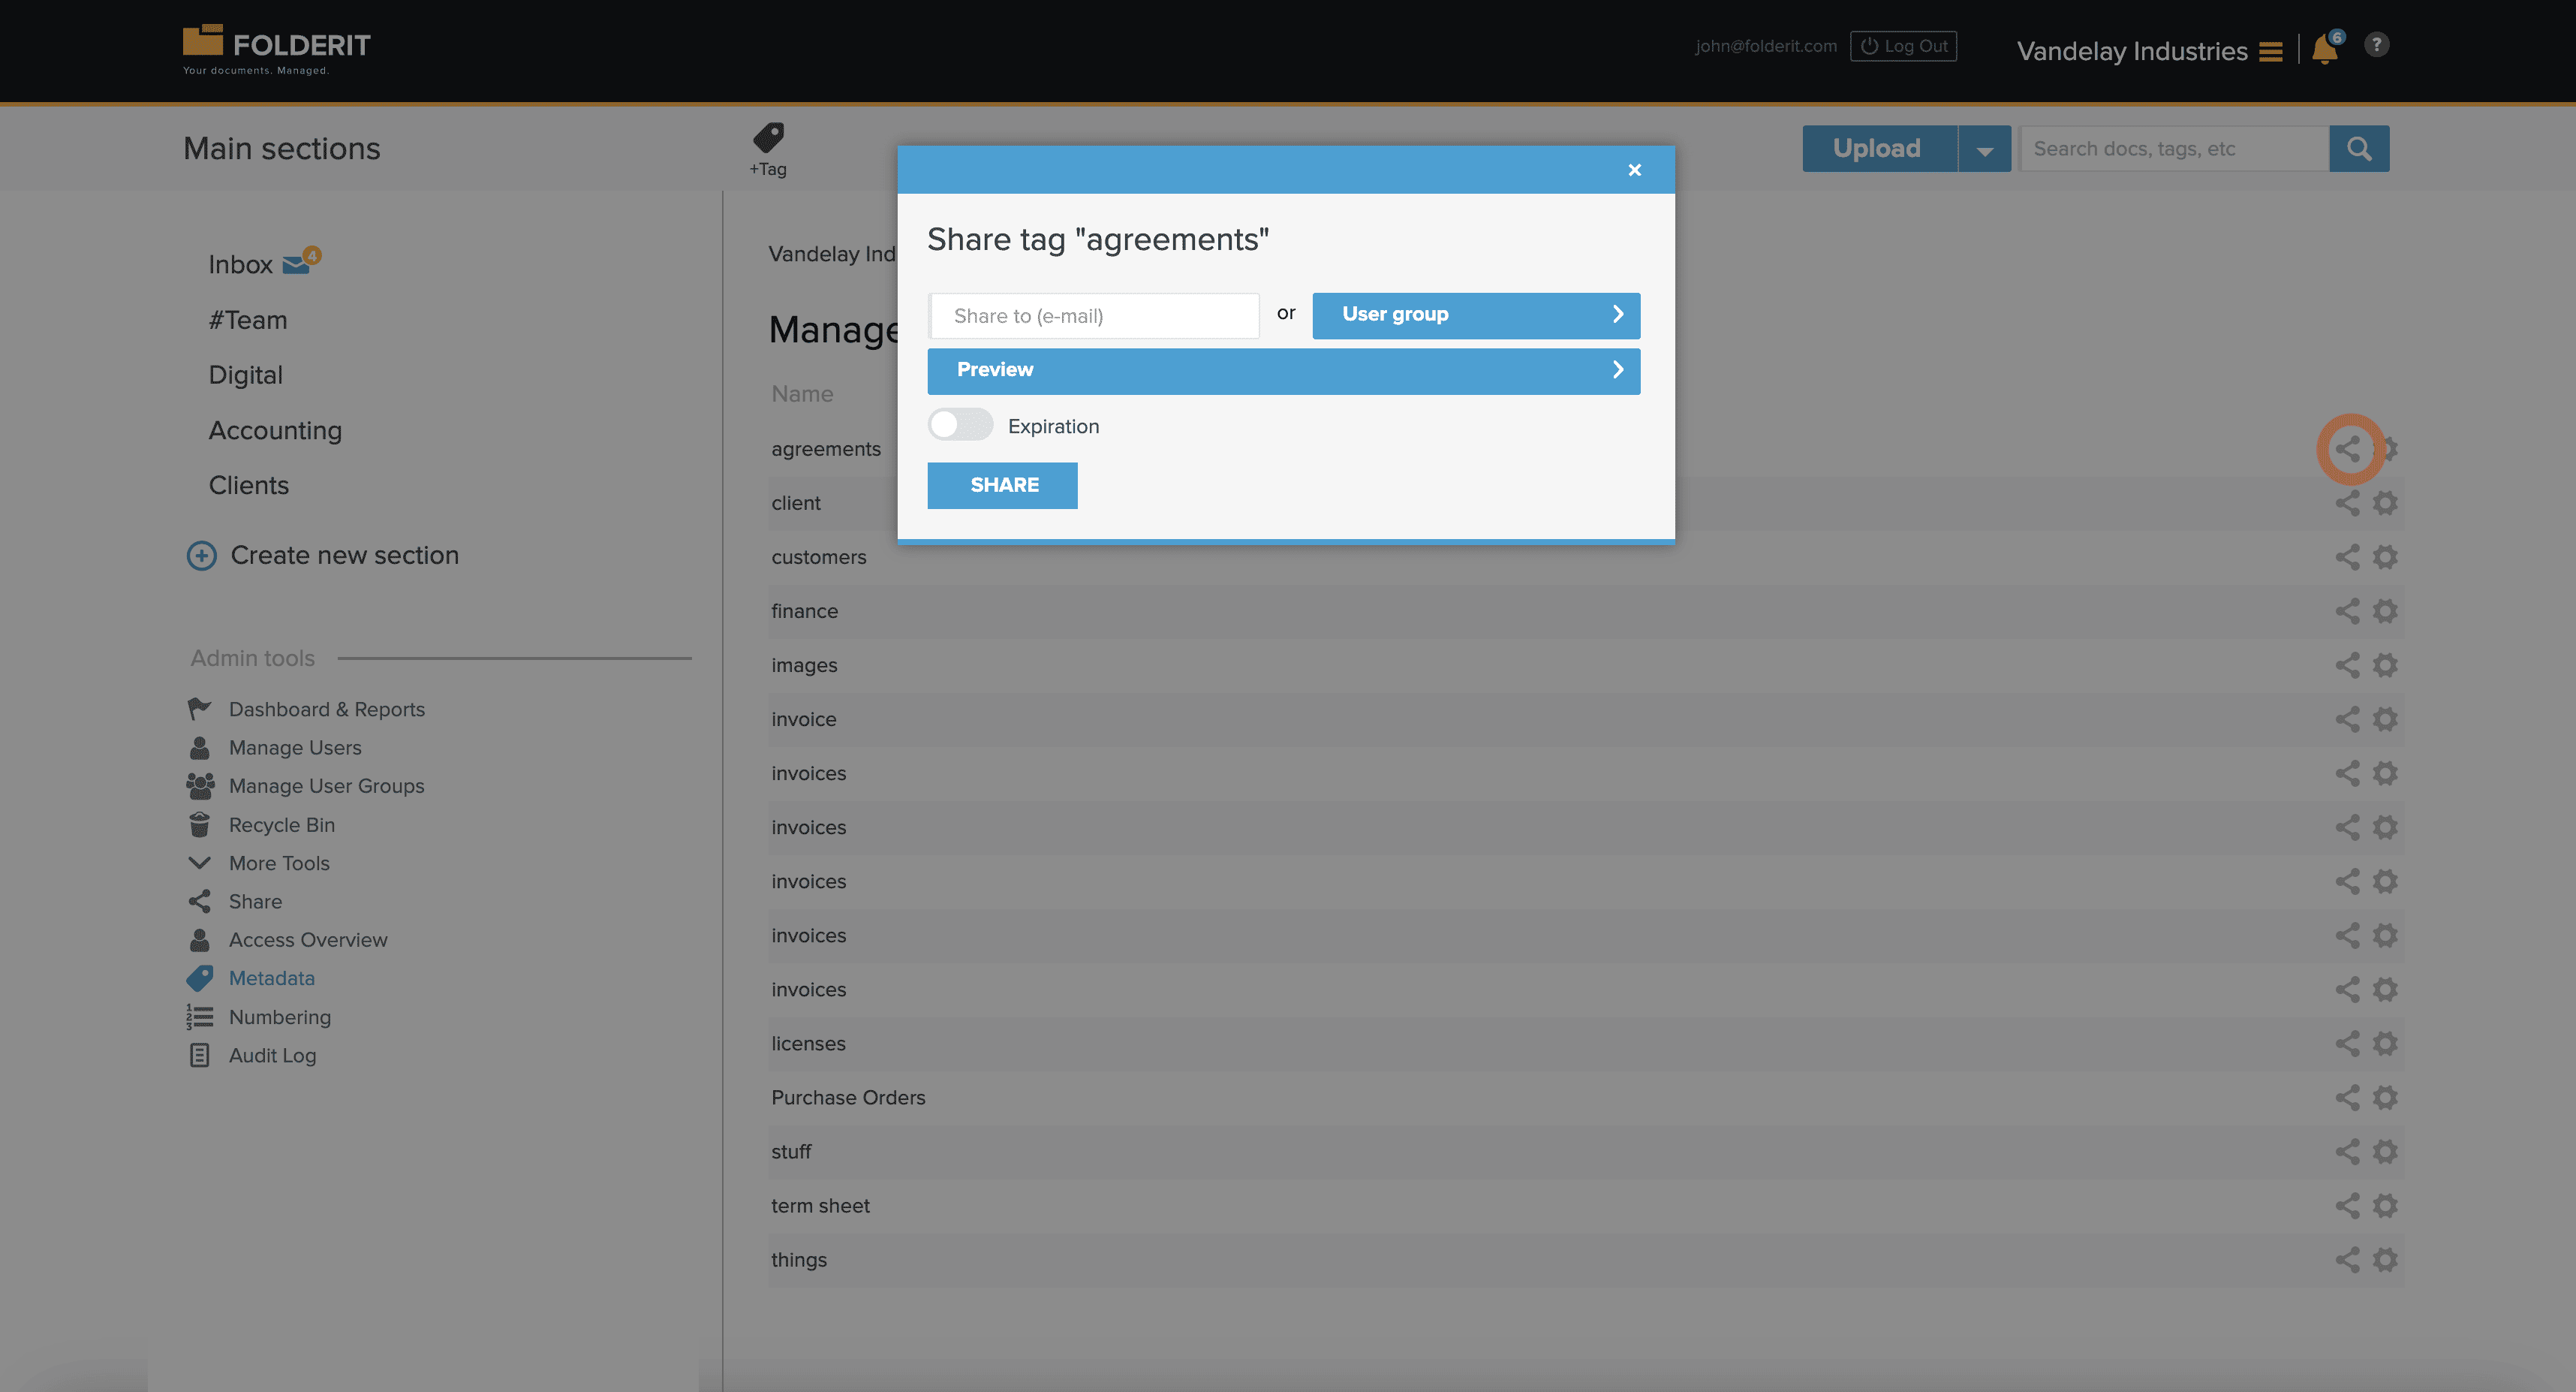
Additionally, each Tag can serve as a foundation for sharing resources. When you share a Tag, everything associated with it becomes accessible to the individuals you shared the Tag with. Sharing a Tag will also share everything tagged with its sub-tags.
To share files/folders through tags, click on the sharing icon to open the access management modal.